        |
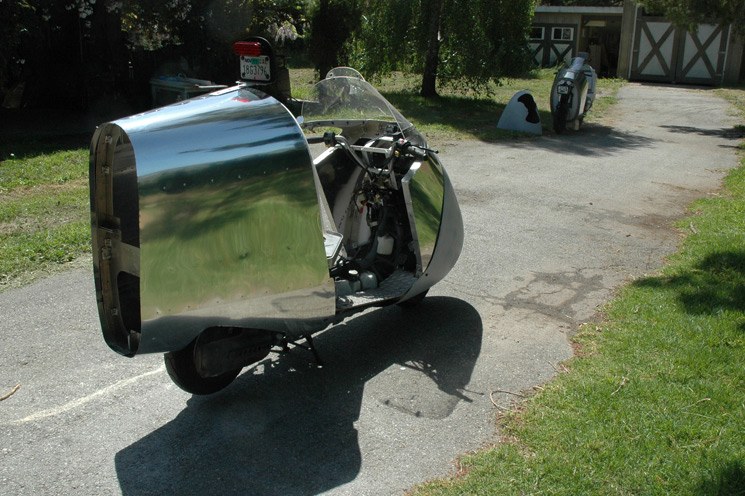 | ||||||||||||||||||||||||||||||||||
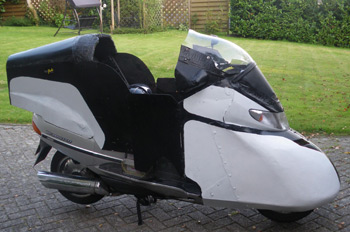
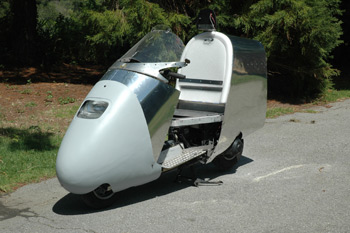
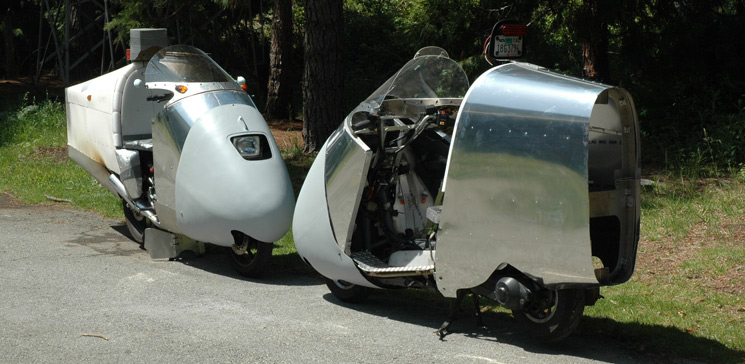
| April 27, 2012: Wrapping the Streamliner in aluminum. The tail is next. | ||||||||||||||||||||||||||||||||||
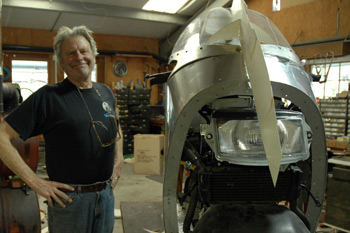
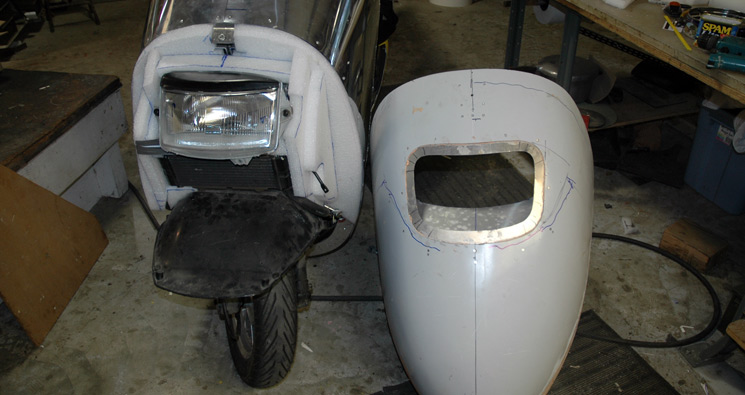
 | The milk carton paper lasted a year but was beginning to get soft. It was time to try aluminum. In the mean time, much tidy-ing up needs to be done inside the nose. It is 18 pounds lighter because I removed the lead weights that were in the old nose. Will I miss the nose weight? Is the headlight pointed correctly? How am I going to make a front fender? Will enough air pass thru the radiator without cutting an additional intake up front? Alan's Ninja 250 is in the background. Lots of pics and stories below as we are one week from the Vetter Challenge at the Quail Ride. | |||||||||||||||||||||||||||||||||
| Strong evening shadows show the distortions in the milk carton paper. Well, it lasted a year. | ||||||||||||||||||||||||||||||||||
 | 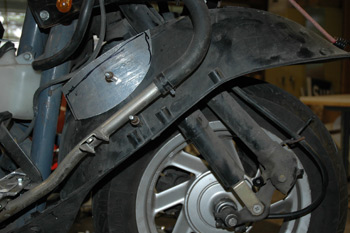 | |||||||||||||||||||||||||||||||||
| Turns out that the original Helix fender is the easiest thing to use. I just need to fabricate a new way to mount it. New curved aluminum plates tie the front and rear Helix fender halves together so I can bolt the new assembly to the frame. Before it was a nightmare of "plastic-on-plastic" clips. | ||||||||||||||||||||||||||||||||||
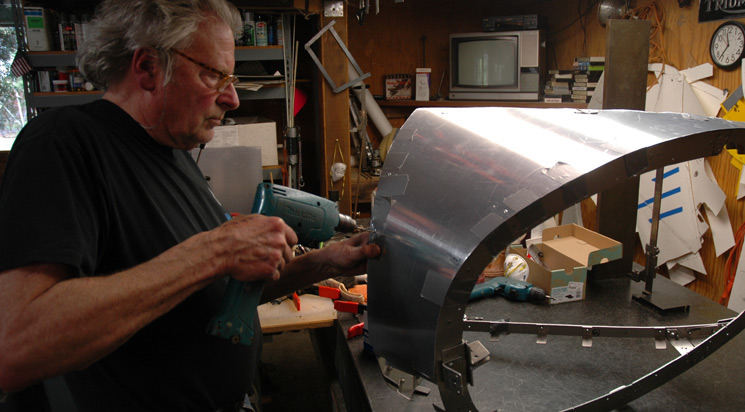 | ||||||||||||||||||||||||||||||||||
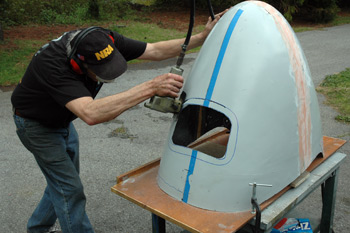
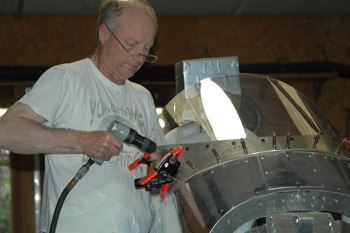
| The .020" aircraft sheet cuts with tin snips and easily wraps around the structure. Pop rivits are so easy to use. I have been waiting a long time to wrap the nose with aluminum. This is the fun part. | ||||||||||||||||||||||||||||||||||
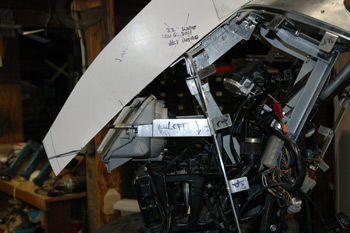 |  | |||||||||||||||||||||||||||||||||
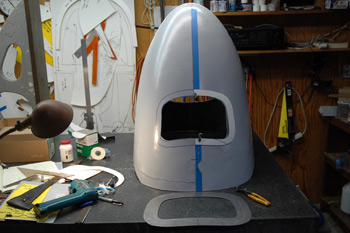
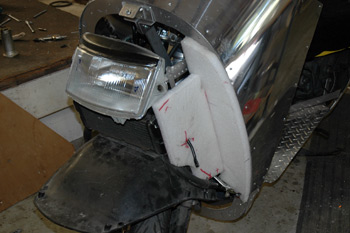
| A template shows where the fiberglass nose is when it is not on the bike. Now I can see where to move the Helix headlight. Aluminum struts hold it in its new location. | ||||||||||||||||||||||||||||||||||
| Cutting the headlight opening Cut a little at a time. Be patient and it will work out fine. | ||||||||||||||||||||||||||||||||||
 |  | |||||||||||||||||||||||||||||||||
| The template above gave me a rough idea of the headlight opening place. I cut it a little too small... just big enough to see where the light was. | ||||||||||||||||||||||||||||||||||
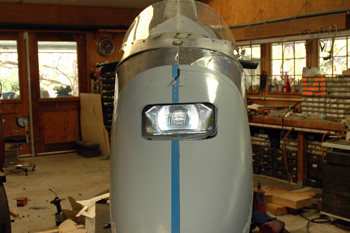 |  | |||||||||||||||||||||||||||||||||
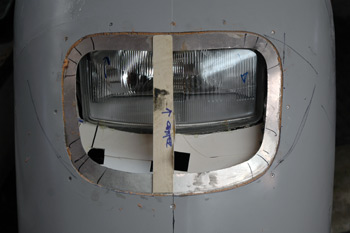
| The Helix headlight is made asymetrical so it is hard to mount correctly. With the centerline scribed on the nose, I could see that the light was crooked. It needed to be rotated clockwise a bit. Easy. Now was the time to do this. The next step was to ride it in the dark to see if the light was pointing in the correct direction. It was perfect. Now it was time to widen the opening and fabricate the step of aluminum to provide an area for the clear headlight cover. | ||||||||||||||||||||||||||||||||||
 | 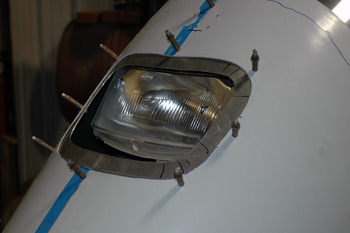 | |||||||||||||||||||||||||||||||||
| Cutting the final opening for the headlight. I Bondo'd and Pop rivited the headlight step in place | ||||||||||||||||||||||||||||||||||
 |  | |||||||||||||||||||||||||||||||||
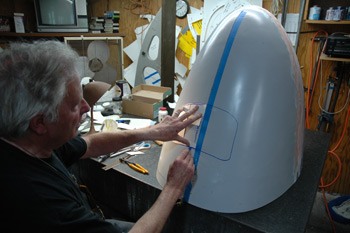
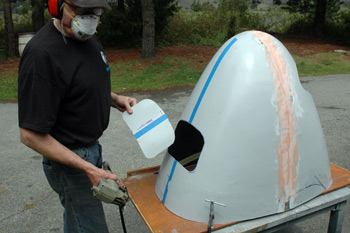
| A paper template showed me the shape of the bottom seal. We don't want any incoming air from the front to leak past the radiator. To force all incoming air thru the radiator and not around the sides, I began stacking pieces of my 1" Ethafoam around the radiator... gradually sealing up the nose. | ||||||||||||||||||||||||||||||||||
 | ||||||||||||||||||||||||||||||||||
| Sealed up with foam. Any air entering the nose must pass thru the radiator to get out. | ||||||||||||||||||||||||||||||||||
| Hot melt glue is as good as it gets for glueing together the Ethafoam. You may recall that this foam is normally used for packaging purposes. It is very light and durable. I will have used up two sheets of 4' x 10' Ethafoam in completing this project. Very handy stuff to have around. At this point, only the air entering around the front wheel thru the "Smiley-Face" opening will be available to cool the engine. Will it be enough? I don't know. Gotta ride it to find out. I may not really know until riding it at the Vetter Challenge in Ohio, where it may be 100 degrees. We don't get that kind of heat in central California. | ||||||||||||||||||||||||||||||||||
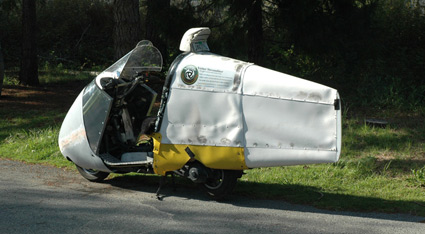
| Lets take a break and look at what others are doing. Remember Jan Vos? Our gear cutter from Belgium. Jan is doing some remarkably innovative streamlining on his 400 Burgman. | ||||||||||||||||||||||||||||||||||
 | 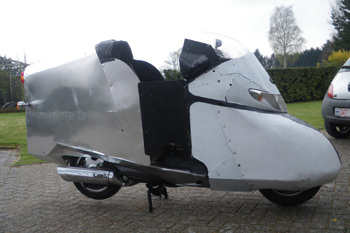 | |||||||||||||||||||||||||||||||||
| March, 2012 progress | April work. Pretty cool, Jan. | |||||||||||||||||||||||||||||||||
| Sure would be nice to have Jan enter the Vetter Fuel Challenges. Maybe someday we can have an International event. | ||||||||||||||||||||||||||||||||||
| Back to the Last Vetter Fairing. | ||||||||||||||||||||||||||||||||||
 | ||||||||||||||||||||||||||||||||||
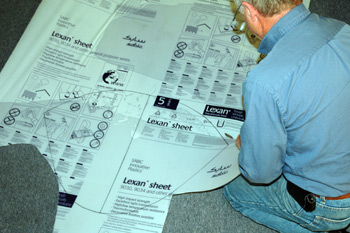 | ||||||||||||||||||||||||||||||||||
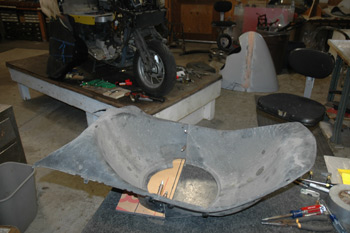
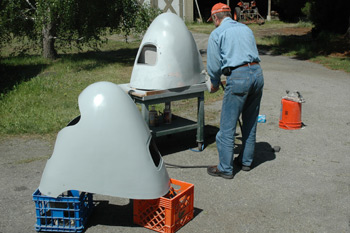
| I have designed the Last Vetter Fairing to use thin sheet plastic that does not need to be heat formed. | ||||||||||||||||||||||||||||||||||
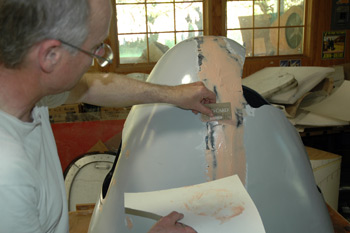 | 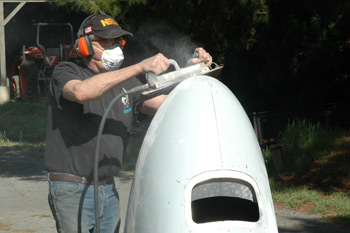 | |||||||||||||||||||||||||||||||||
| Time to Bondo the imperfections sand and prime. We shot sandable polyester. | ||||||||||||||||||||||||||||||||||
 |  | |||||||||||||||||||||||||||||||||
 | ||||||||||||||||||||||||||||||||||
| The list is long. Time is short. We are working as hard as we can. Stay tuned. | ||||||||||||||||||||||||||||||||||
| Posted April 21, 2012 updated April 28, 2012 | ||||||||||||||||||||||||||||||||||